Cracking the Resident Evil 9 Bar & Lounge Safe Code: Your Ultimate Guide to Rewards
In the grim, atmospheric world of Resident Evil 9, every resource counts, and discovering hidden stashes can be the difference between survival and becoming another victim. Among the many mysteries and challenges awaiting players, cracking the various safes scattered throughout the Care Center and beyond stands out as a crucial task. This comprehensive guide focuses on one of the earliest and most vital of these puzzles: the Bar And Lounge Safe Code Re9, detailing its location, how to open it, and the invaluable rewards that lie within. We'll also touch upon its "Insanity" counterpart and briefly look at other significant safes to help you on your harrowing journey.
Unlocking the Bar & Lounge Safe: Your First Major Hurdle
As you navigate the treacherous early hours of Resident Evil 9, the Bar & Lounge area presents a pivotal moment. Not only is it often populated by pesky enemies that demand your immediate attention, but it also houses the very first safe you'll likely encounter. Successfully opening this safe provides a significant boost to your early game progression, offering resources that can dramatically impact your survivability.
Before you even think about the combination, ensure the area is clear of threats. Dealing with the immediate danger allows you to focus on the puzzle without the added pressure of impending attacks. Once the coast is clear, locate the safe – it’s prominently placed within the Bar & Lounge room.
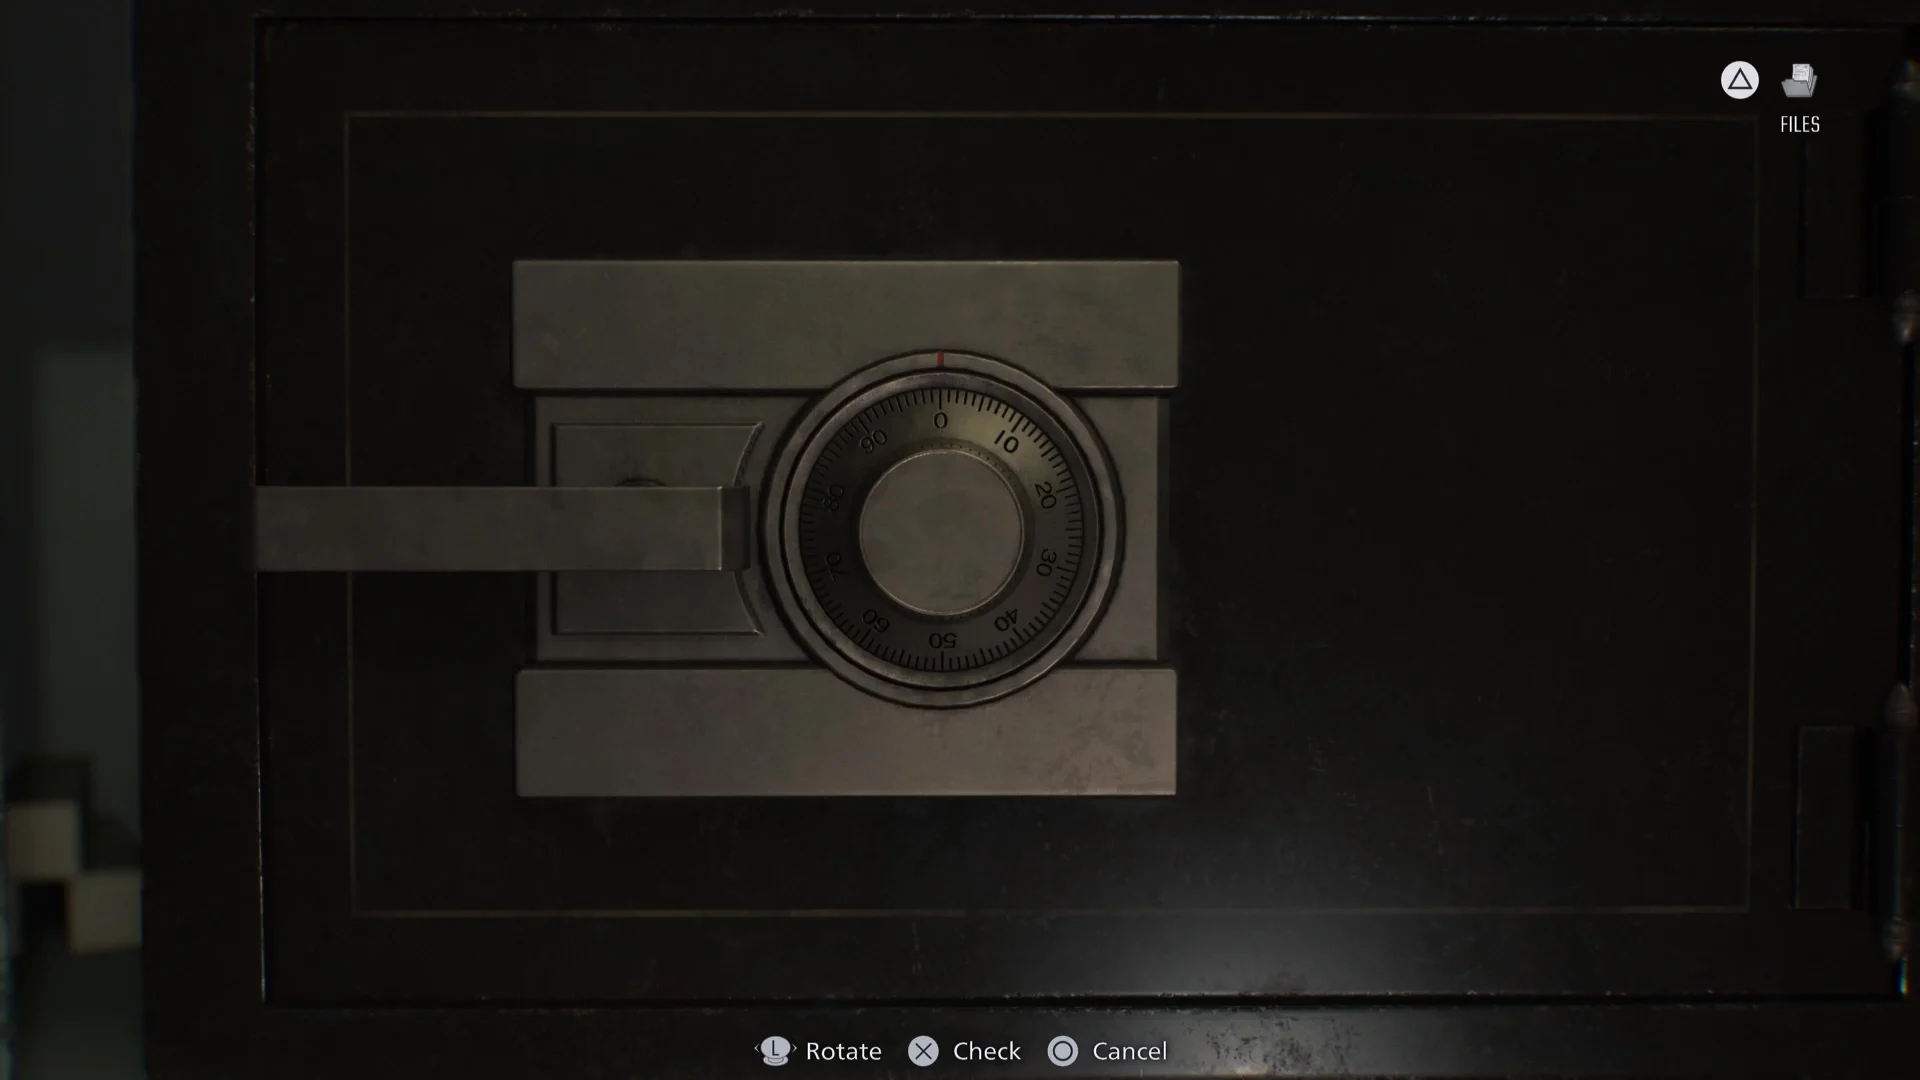
The standard combination for the Bar & Lounge safe is a memorable sequence that utilizes the game's unique dial mechanics:
- Left (clockwise) to 10
- Right (counterclockwise) to 80
- Left (clockwise) to 30
To execute this, you'll need to carefully rotate the combination lock until it aligns with each number in the specified order. Remember that "left" often means turning the dial clockwise, while "right" means turning it counterclockwise. Once all three numbers are correctly input, a prompt to "Check" or "Open" will appear. Press it, and the safe will yield its secrets.
For more detailed insights into this specific safe and its rewards, make sure to check out our dedicated guide: RE9 Bar & Lounge Safe: Your First Code & Rewards Guide.
Rewards Worth the Effort: What Awaits You Inside
The contents of the Bar & Lounge safe are far from trivial; they are carefully chosen to empower you in the early stages of Resident Evil 9. Your primary reward for cracking the Bar And Lounge Safe Code Re9 is:
- Three Antique Coins: These precious collectibles are more than just trinkets. They serve as a unique currency, allowing you to purchase valuable upgrades, items, or even special weapons from the mysterious vendor in the Parlor. Accumulating Antique Coins early can give you a significant strategic advantage, letting you enhance your arsenal or acquire crucial healing items when resources are scarce.
But the safe isn't the only treasure trove in the Bar & Lounge. Astute players will also discover another invaluable item nearby:
- Grace's S&S M232 Pistol: While not *inside* the safe, this powerful handgun is typically found in the immediate vicinity of the Bar & Lounge. Locating this weapon dramatically boosts your offensive capabilities early on. Having a reliable firearm like the S&S M232 can make tackling subsequent enemy encounters much more manageable, conserving your limited starting ammunition for other weapons.
The combination of these rewards means that securing the Bar & Lounge safe is not just a side quest, but an essential step in building a strong foundation for your survival against the horrors of RE9.
The Insanity Bar & Lounge Safe Code: A Different Challenge
Resident Evil 9, true to its legacy, offers varied difficulties that dramatically alter the gameplay experience, including changes to puzzle solutions. If you're braving the game on "Insanity" difficulty, be aware that the Bar And Lounge Safe Code Re9 will be different. The developers designed this to ensure that veteran players or those seeking an extra challenge can't simply breeze through with remembered codes from easier playthroughs.
For those daring enough to tackle Insanity mode, the Bar & Lounge safe code shifts to:
- Right (counterclockwise) to 20
- Left (clockwise) to 50
- Right (counterclockwise) to 30
This subtle but critical change demands players pay close attention to environmental clues or refer to reliable guides. The rewards, however, remain equally vital on higher difficulties, perhaps even more so given the increased stakes and scarcity of resources. Mastering the Insanity difficulty codes is a testament to your resilience and attention to detail. For a deep dive into difficulty-specific codes, refer to our guide: RE9 Bar & Lounge Safe Codes: Standard & Insanity Guide.
Beyond the Bar & Lounge: Navigating the Complexities of the Basement Safe
While the Bar & Lounge safe serves as an excellent introduction to RE9's puzzle mechanics, it's just the tip of the iceberg. The game features other significant safes, each with its own unique challenges and valuable rewards. One such safe is located in the Care Center's Basement, a much more dangerous and intricate area.
The Basement safe presents a multi-layered puzzle involving character-specific actions and difficulty-dependent codes. It can be found in a small room on the north side of the Care Center's Basement, above the Processing area, reachable after opening a door on the west side of the Furnace with a joint plug.
The Twist: Character Dependency and Missable Codes
Unlike the Bar & Lounge safe, the Basement safe introduces a character-specific mechanic. While Grace is the one who ultimately opens the safe, the critical clue – the code itself – must be found by Leon during his sequence. After a particular encounter with a "Big Baby" in the attic, Leon will enter a room with a warped cabinet. Opening this cabinet reveals a document containing the Basement safe code and a valuable item, the Alligator Snapper's Compensator.
Critical Tip: Since only Leon can interact with warped cabinets and character swapping isn't on-demand, it is paramount that you read this document with Leon before progressing the story back to Grace's perspective. Missing this window means you won't have the in-game clue.
Difficulty-Specific Basement Codes:
Fear not if you missed Leon's clue or just prefer a direct solution! The Basement safe code also varies by difficulty:
- Casual and Standard Difficulty: Right to 60, Left to 40, Right to 80.
- Insanity Difficulty: Left to 70, Right to 50, Left to 20.
Basement Safe Rewards:
Opening the Basement safe is incredibly beneficial, especially for collectors and those low on resources. You'll typically receive 10 handgun ammo – a welcome find for Grace. However, the true prize, available only the first time you open the safe, is the Raccoon Roundup Map for Rhodes Hill. This map is a godsend for completionists, as it marks the locations of all Mr. Raccoon statues within the Rhodes Hill area on your in-game map, significantly simplifying the hunt for these elusive collectibles.
Understanding these different layers of puzzle design, from simple early-game safes like the Bar And Lounge Safe Code Re9 to complex, character-dependent ones like the Basement safe, highlights the depth and replayability of Resident Evil 9.
Conclusion
Mastering the safe codes in Resident Evil 9 is a rewarding endeavor that significantly enhances your gameplay experience. Whether it's securing early-game advantages with the Bar And Lounge Safe Code Re9 or meticulously tracking down clues for more complex puzzles like the Basement safe, each solved combination brings you closer to unraveling the mysteries of the Care Center and surviving its horrors. Always stay vigilant, check every nook and cranny, and don't hesitate to consult guides when the going gets tough. The valuable items and strategic advantages gained are well worth the effort, preparing you for whatever grotesque challenges Resident Evil 9 throws your way.